


Withy
-
Posts
884 -
Joined
-
Last visited
-
Days Won
2
Content Type
Profiles
Forums
Events
Store
Posts posted by Withy
-
-
Awesome looking thing. Congratulations. Agate Grey is a joy in any 981. Foldy mirrors too - nice!
One thing to look for is the drain holes getting clogged. Preventative maintenance way better than cure. Lots of advice on here from @daz05 and others, and depending on of who services it, they may check them for you. You'll get to know this chap on YT too who gives us all good advice.
The summary of drain holes is; some design "choices" maybe questionable in that the roof mechanism has a way to direct rain through a set of drain holes and they can get clogged. If that happens the water can gather under the passenger seat where some control electric live, and cause (expensive) problems. Wet seat belts are a giveaway. very sensible to have this checked out. Hopefully not a prob for you-
 2
2
-
-
I'd agree with most here that this isn't OEM, I also can't see this as an option in any of the brochures. If any of you remember Golf GTi Colour Concepts, it reminds me of those! (I had a 1997 all black one with those cool Recaros)

Looks awesome in a Boxster
-
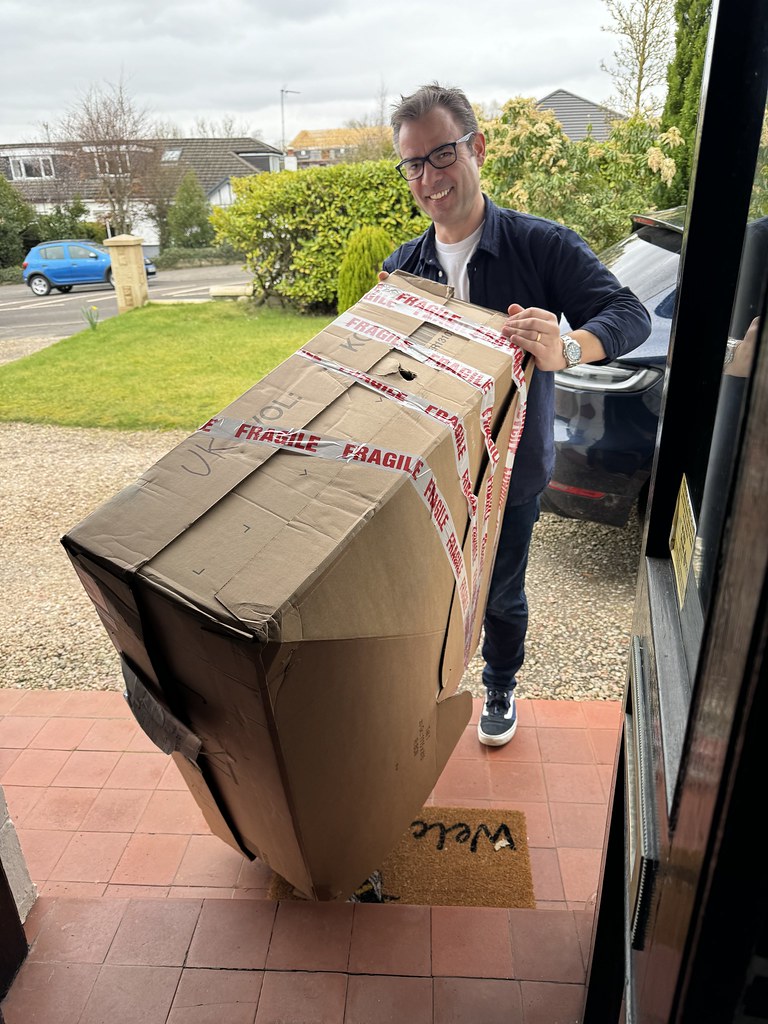
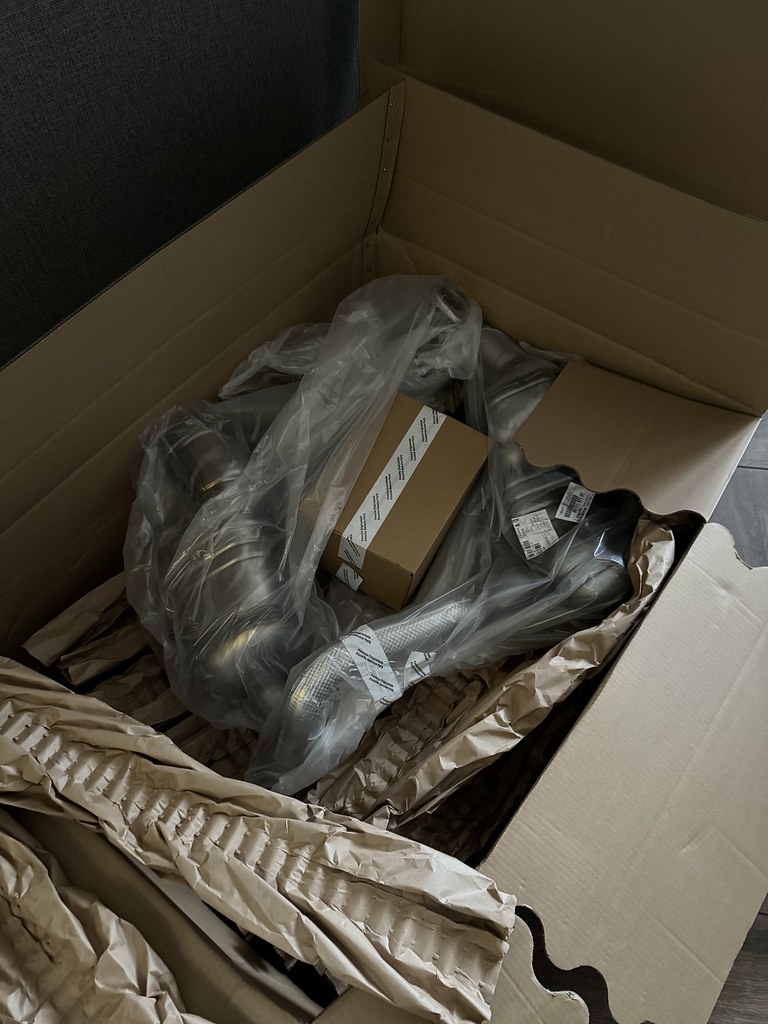
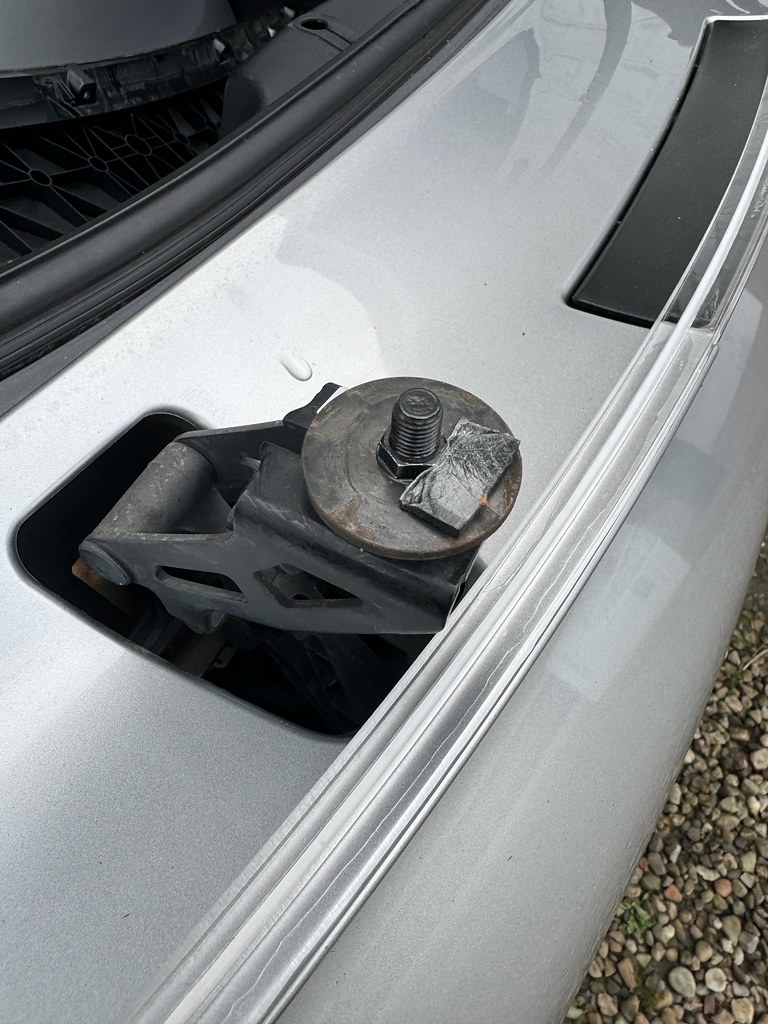
Had the PSE replaced. One side actuator snapped ages ago, and there other side seized as they all do eventually, and I'd been thinking of going Carnewal or something but was always keen on keeping things OEM. Had kept my eye on Design 911 as a potential supplier of a PSE as all OPC's seem to be in a no stock situation, and/or allocating available to warranty replacements (mine isn't under warranty). After speaking to Design911, they said that there could be an update in March, so I kept an eye on this for stock levels. https://www.design911.com/p/sports-exhaust-system-pse-porsche-981-boxster---981c-cayman-cars-with-sports-tail-pipes/
One evening last week it said "in stock" so I pulled the trigger, and it arrived promptly, and I arranged local indy to fit it yesterday. So my lovely BGTS is back to full musical awesomeness, with the button doing the necessary thang.


-
4
-
-
just watched this. Brilliant.
-
 1
1
-
-
This is pretty interesting. Jeff has some really good videos that have been referred to on here. This is a fascinating watch tho
-
1
-
1
-
-
5 minutes ago, bally4563 said:
Took it in last week local to me to get the software installed via PIWIS , they did it bought could not activate it requires a access code from Porsche ,so did not charge me , phoned OPC wilmslow who want £80 to activate it …. Can live with that , so £120 for column/stalks and £80 to activate it , a bit of a bargain to have cruise control?
Not bad at all to add it in. My previous car didn't have it, and my current one does. I picked up my car from Essex when I bought it (Oct 2021), drove it back to Scotland, so it was a nice addition to have on that journey. Haven't used it since
")
-
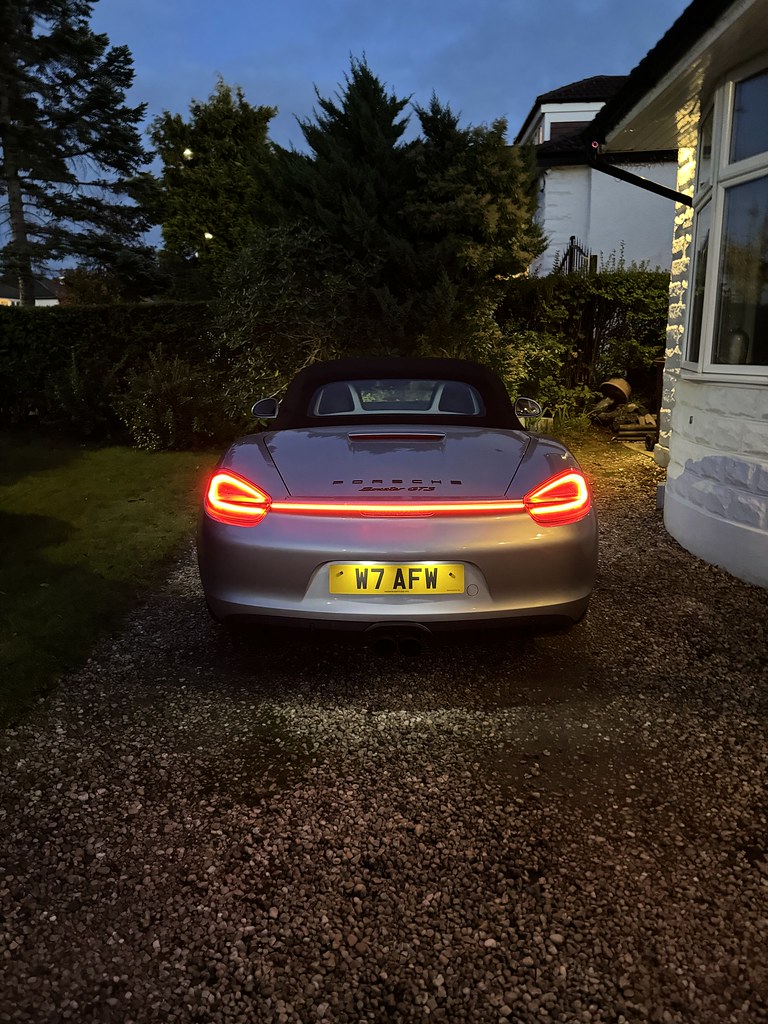
Added a rear view camera as per
-
Now that I’ve gone through the process, I found this video which is really excellent at explaining it properly, and lands on the same conclusion that ceramic coating is a winner. Worth a watch if anyone is having a go
-
Thanks, all good tips. 2K stuff was a stretch (and I was using outside/well ventilated and protected as per the very detailed instructions on the can) Scottish temperature also not helping too I’m sure. Nonetheless, ceramic coating now my favourite thing, and if it’s dry over weekend I may properly clean my Sport Techno’s and give them a coat
-
Oops, too late to edit, but Sanding, Meguiars kit and Ceramic Coat is the answer
-
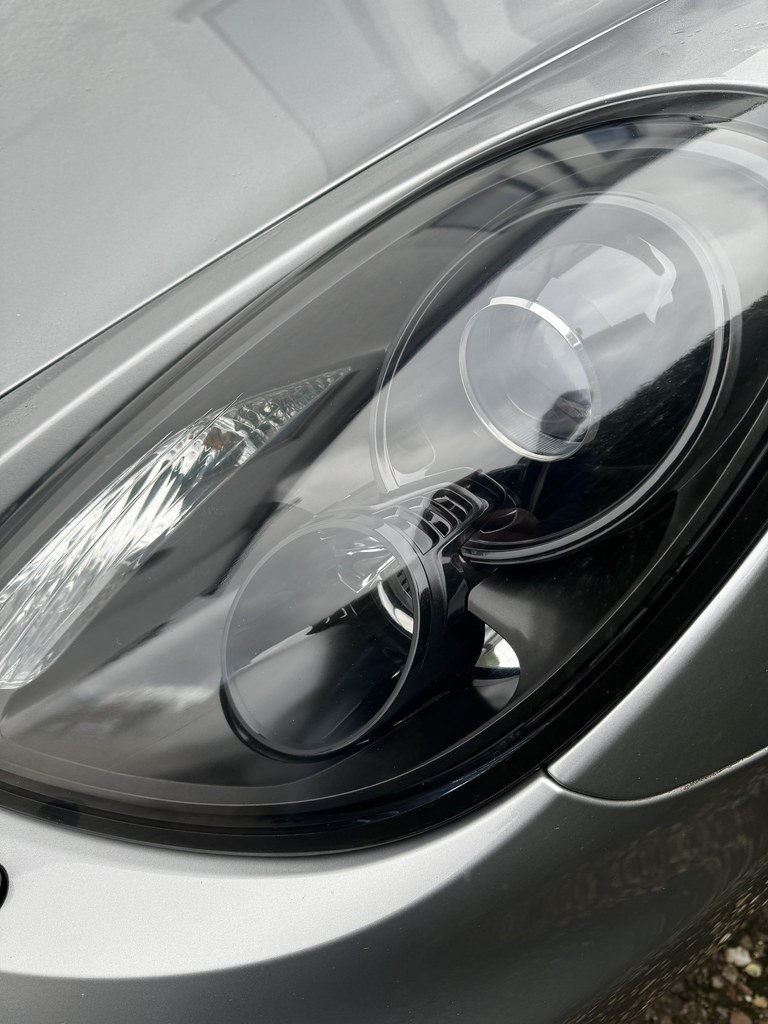
I've had crazing on front lights for a while, and been looking at previous posts about companies who fix, and also the hundreds of videos on YouTube of how to do it with grades of wet sanding, then coating. So I decided to have a go myself, and it's a bit of a journey!
First of all, here is the state they were in. Passenger side worst with a crazing section all down one side. Drivers side not so bad, but still annoying patches of crazing
Passenger side
Drivers Side:

First step, use the toolkit supplied tool to remove the lights - really straightforward, unclip the wiring harness and take out of the car.
Now the fun (not) starts. It's really strange to use fairly rough sandpaper on very expensive lights, but I went with 240 Grit to start, soaking the sandpaper, and spraying the lens thoroughly so keep things lubricated. Goes a really horrible milky residue as the oxidised cr@p comes off
It looks quite scary at this point.. like you've ruined your headlights, but watching lots of guidance, the process is to use gradually finer and finer grit sandpaper so that each change of grit helps smooth out the scratches from the previous. I went 240->320->600->800->1000->1200->1500->2000->3000->5000 using each possible one from the pack I'd bought from Amazon.
At the end of this, it's an interesting change - basically the crazing has gone, but so has so has some of the clarity through the plastic lens, so it's still a bit disappointing.
Most of the other Youtube videos say that the clarity comes back with the clear coat, so I wasn't too worried, and after some research, landed on some 2k Clearcoat which was pricey, but seemed to have good reviews https://www.amazon.co.uk/dp/B004AHH12E
This is where the journey took some interesting turns, the summary is;
- My skills on applying personal based clear coat are clearly rubbish. both lights had a horrible orange peel effect, and when spraying the odd drip occurred from the can, and it was just awful looking. I did think maybe an additional coat or drying time would help but after an overnight, I conceded that I had to do the sanding again to get rid of the newly applied clear coat. Bugger.

- Next was some 3M clear coat wipes. No pics here, but it was awful. Streaky, uneven and completely horrible. Do-over, and sanding again to remove the horrid 3M wipe smeary residue. 800Grit through all grades to 5000 again to get back to smoothish, but low clarity
- Then I thought ok, time to look at ready made kits, and Meguiars do a kit which has some handy little 4 stage sanding pads and some polishing compound and a wool pad / drill attachment. This was a really good improvement, removing a lot of the small scratches https://www.amazon.co.uk/dp/B001O7I7FS Still lack of lustre tho
So onward and upward. more YouTubing, and landed on what I hoped would be the final thing. Ceramic coating.
This was a bit of a game changer. Really simple to apply, really improved the clarity, and has given a good enough result that the lights are now re-installed in the car, and look significantly better than they did before, with UV protection in place for some time, that I'll just top up every 6 months/1 year.
I opted for a fairly inexpensive version, here https://www.amazon.co.uk/dp/B07DHDF563
Results look pretty good I'd say, but with the lights switched on, it's clear that there is some lower down in the plastic Crazing which I won't be able to fix, but on the whole I'm pleased with the results

On the car

If anyone else wants to have a go, in my experience unless you are handy with spraying clear coat, don't bother. Don't believe the hype of the 3M wipes, but go for the sanding, meguiars kit, and some clear coat. That way it would be about £40 all in, with some elbow grease and a high sense of satisfaction-
4
-
2
-
-
5 minutes ago, iborguk said:
Rattling when engaged in the clip or when no passenger in situ ?
If the latter then try adjusting it so it sits higher up the seat.
If you didn’t mean that then apologies and ignore.
When no one in the passenger seat and it's not in the clip it taps against the hardback seats (I think, I've never leaned over to look!)
-
On 2/2/2024 at 8:35 AM, Tony Daniel said:
PSE replaced on one side under warranty.
Rattling passenger side seat belt and creaking door stays refused.
Also oil leak on PDK gearbox 'being monitored', I need to go back into battle on that
Interested in the rattling passenger side seat belt. If it was refused, did you sort it somehow? Mine does this and it's pretty annoying
-
On 2/2/2024 at 2:22 PM, lawrencequinn said:
2020 Macan- Chrome trim on window switch fell off x 2 - refused.
2020 Macan
3 x Window switch trims (the Chrome bit) all done under warranty.
Rear washer T pipe connector thing which splits and then soaks stuff under the rear seats - done under warranty - they had the car for 4 days to ensure it was dried out
PCM "Nav" chrome trim fell off, OPC repaired it, and I said I wasn't happy as it was skew and I could see the adhesive. Replacement ordered/back order an will be honoured under warranty. Not sure yet if it's the switch assembly at the front of the PCM, or the whole thing.
Interestingly (kinda), I used the My Porsche website which has warranty info, and it seems my 981 BGTS was under warranty until just before I bought it (2021) which I had no idea of. Bit of a shame that, as if I'd known, I would have extended it and maybe got the PSE replaced (seized/snapped actuator) -
Macan EV is now on the configurator. pricey! A nice Spec Turbo I just played with comes out at £102,501! FFS
-
Might give my OPC a call. Never did fix the drivers side one which seized and then the actuator snapped. If I can do get away with what Volkswizard guy Andrew did on his, and just replace one side for £1100 of whatever, it'll stop me thinking about Carnewal and/or TopGear (watching these threads and so aware that basically everyone has PSE's seizing)
-
16 hours ago, GTSMarky said:
Sold it!
Was such a cool example!
what’s inbound? 718 4.0?
-
1
-
-
Because of the wind/storms, car cover has been used, but the other night when Isha was at her worst the back end of the cover was flapping about in a most unruly fashion, which I sorted (mostly) with some string as a temp measure. The 2 underbody strap are secure/tight but the back end wasn’t playing nice.
Since Jocelyn is coming, I ordered some bungee cords to make it better, and have carefully tethered / looped around wheels to keep the back end secure. Probably just the orientation of the car to the way the wind arrives, but it’s much better now anyway (so far)

yes, yes I know I should just clear out the garage
-
1
-
-
Ooh, frameless front doors. We like that!
-
Pretty cool looking. Impressive numbers
-
1
-
1
-
-
MOT’d , all good 💪🏼💪🏼
-
I’ve adjusted it and I can’t see any difference to pre light bar now (as mine was always very slightly above boot lid)
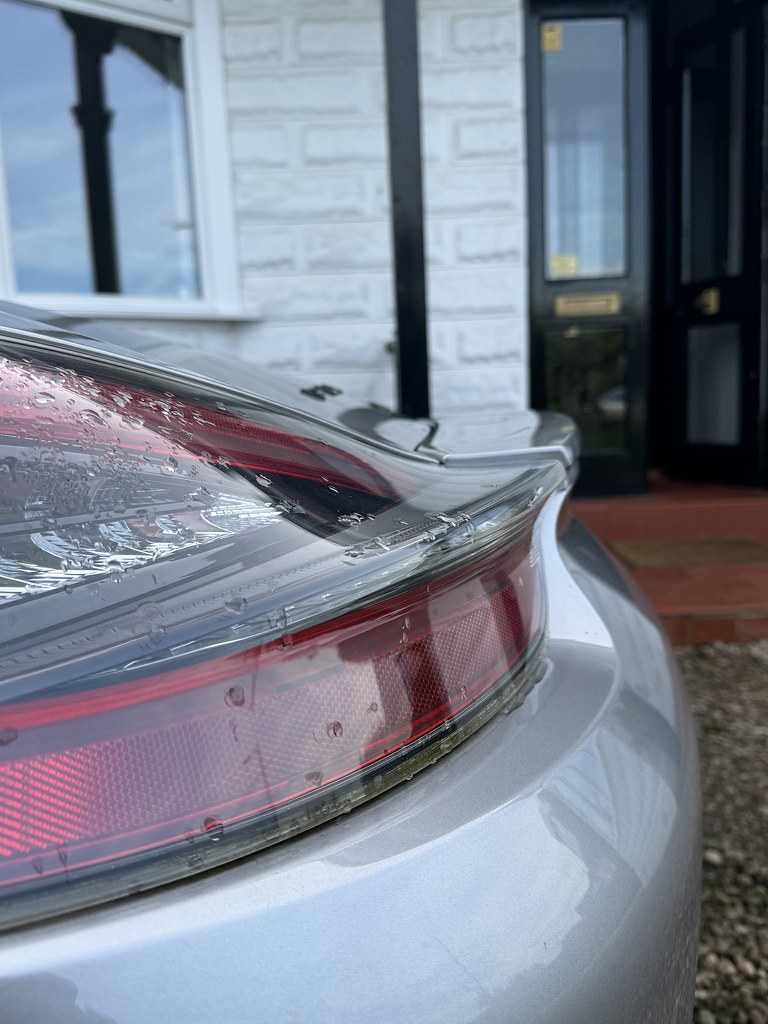
I also used some thick 3m tape at the back end to angle it very slightly which appears to have helped
Certainly has helped my brain accept the change. As per many replies it was just a bit annoying
-
3
-
-
Last one to show what it looks like
Agree with the comments on the spoiler alignment. I’ll defo have a go to make it a better fit as there is a lot of opportunity to adjust
-


What have you done to your 981 today?
in 981
Posted
I’m afraid not, sorry. Seems that the kit is supplied as most if not all parts are needed to install the PSE correctly. Seems my Indy had to supply an additional bracket too due to some corrosion, so absolutely nothing left over (well, other than some tie wraps)